Прошивка возможно двумя способами
- с помощью готового HEX файла и программы Xloader
- с помощью Arduino IDE, где можно поменять логотип, и внести свои поправки. Код открыт.
Я использовал второй способ. Хороший источник, который я использовал, а также обсуждение
Необходимые компоненты:
- Realacc RX5808 Pro Diversity
- FTDI адаптер (Banggood) я пользовался таким
- Arduino IDE
- BMP-HEX конвертер
- RX5808 Pro Diversity Software: https://github.com/sheaivey/rx5808-pro-diversity (скачать ZIP)
- Adafruit Display Software: https://github.com/adafruit/Adafruit_SSD1306 (скачать ZIP)
- Adafruit Display Software: https://github.com/adafruit/Adafruit-GFX-Library (скачать ZIP)
Устанавливаем Arduino IDE
Добавляем распакованный проект RX5808 Pro Diversity в папку \Documents\Arduino должно получится
\Documents\Arduino\rx5808-pro-diversity-master\
в папку библиотеки \Documents\Arduino\libraries\ добавляем остальные распакованные пакеты, должно получится
\Documents\Arduino\libraries\Adafruit_SSD1306-master и
\Documents\Arduino\libraries\Adafruit-GFX-Library-master
в текстовом редакторе правим разрешение для дисплея в файле \Documents\Arduino\libraries\Adafruit_SSD1306-master\Adafruit_SSD1306.h
прописывает так:
#define SSD1306_128_64
// #define SSD1306_128_32
// #define SSD1306_96_16
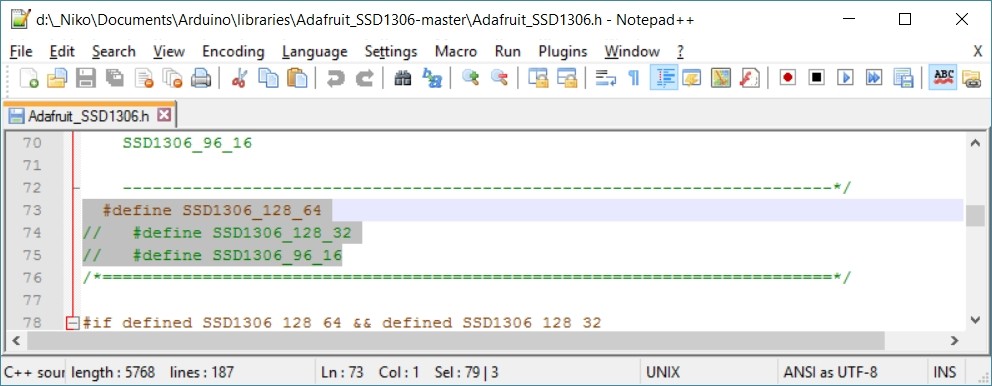
сохраняем
создаем свой логотип в редакторе размером 128 х 64
![]()
конвертируем логотип в HEX код
![]()
в текстовом редакторе вставляем получившийся код в файл Documents\Arduino\libraries\Adafruit_SSD1306-master\Adafruit_SSD1306.cpp
![]()
сохраняем
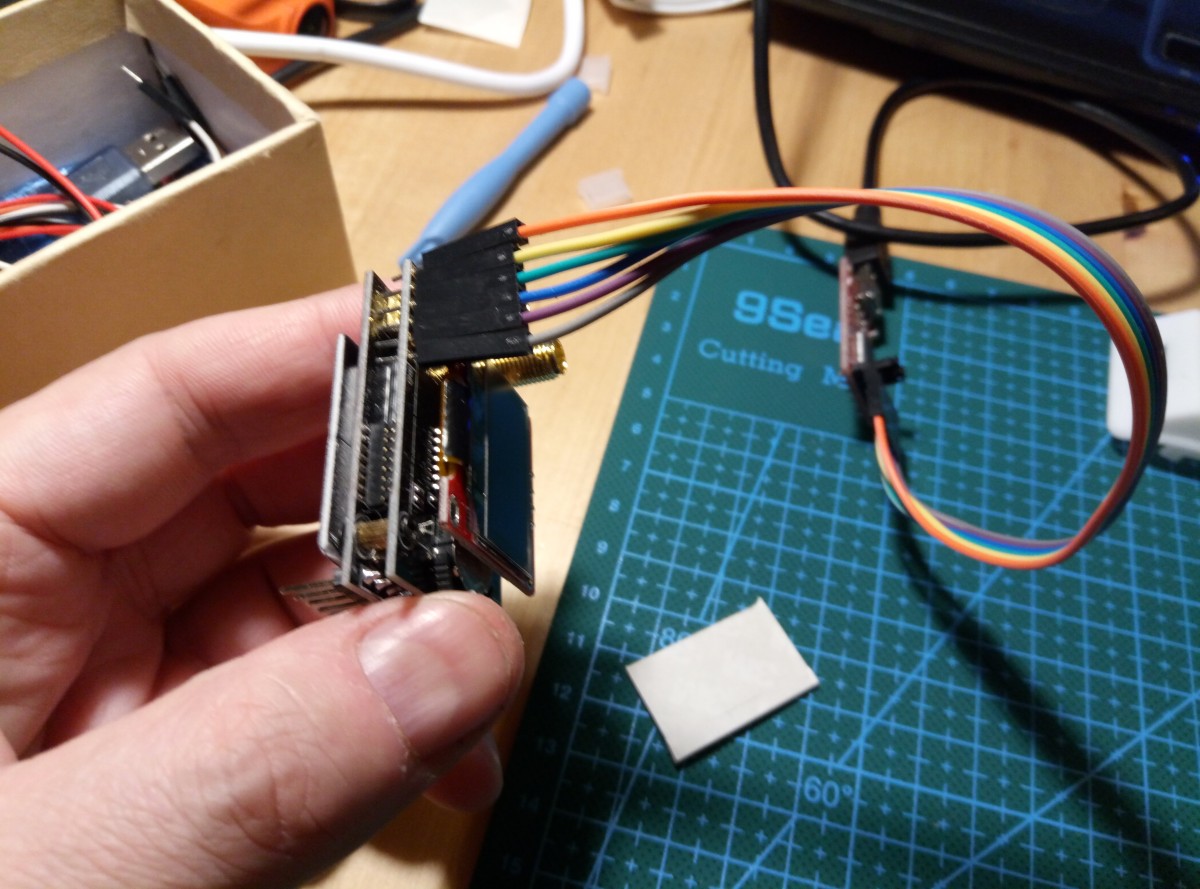
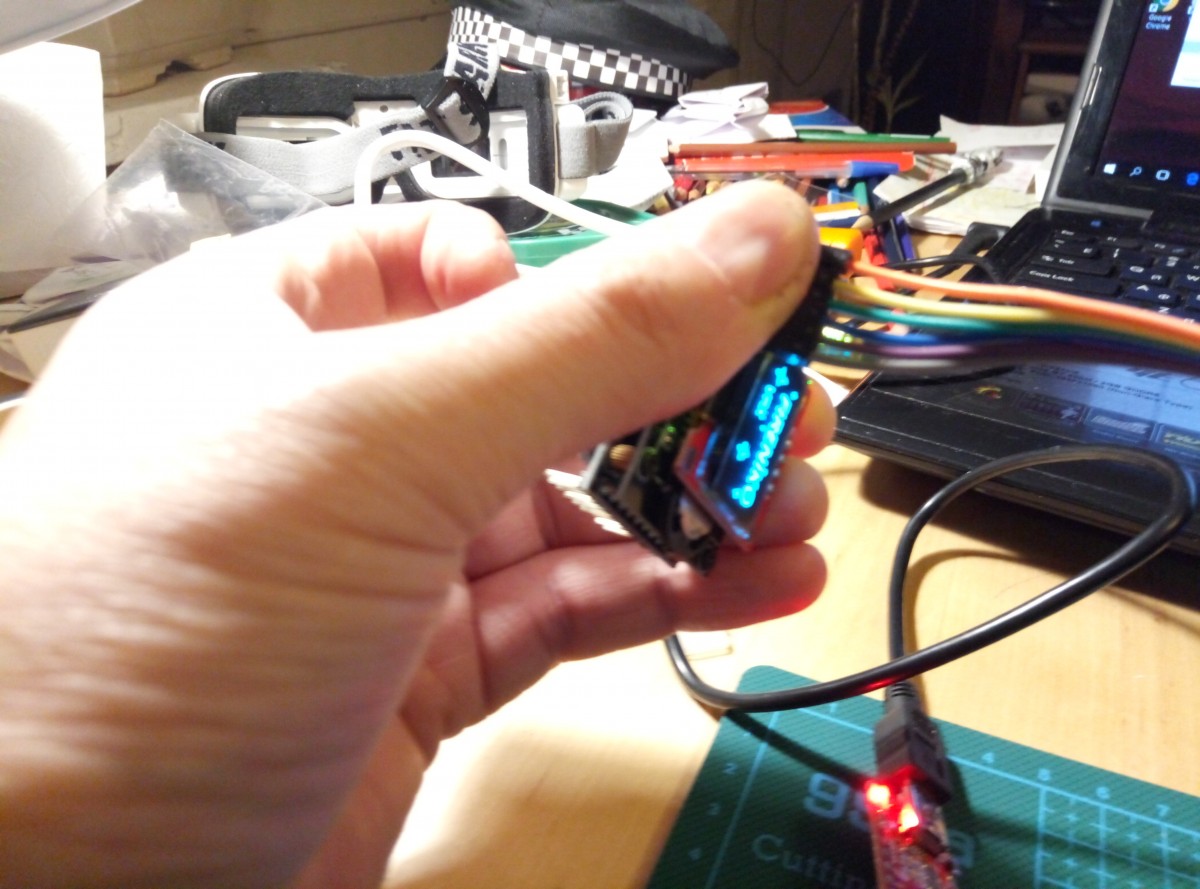
Подключаем Realacc RX5808 Pro Diversity к FTDI, я использовал удлинитель.
Подключаем FTDI к USB порту компьютера. Появится новый COM порт
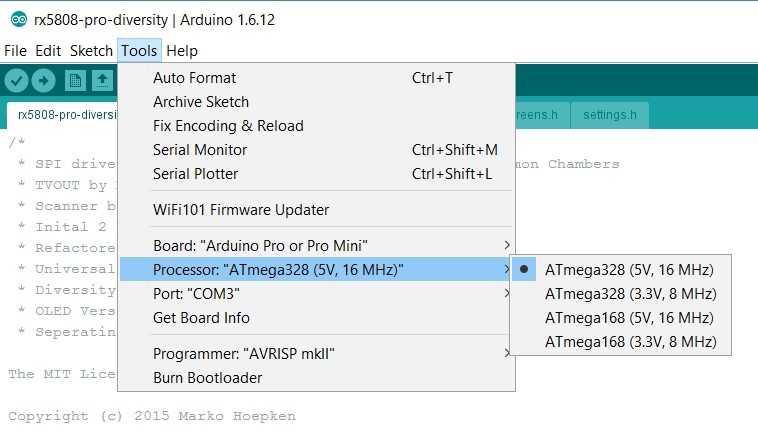
Теперь открываем проект в Arduino IDE/
выставляем правильную плату, процессор и порт.
Жмем на UPLOAD, пойдет компиляция и прошивка.
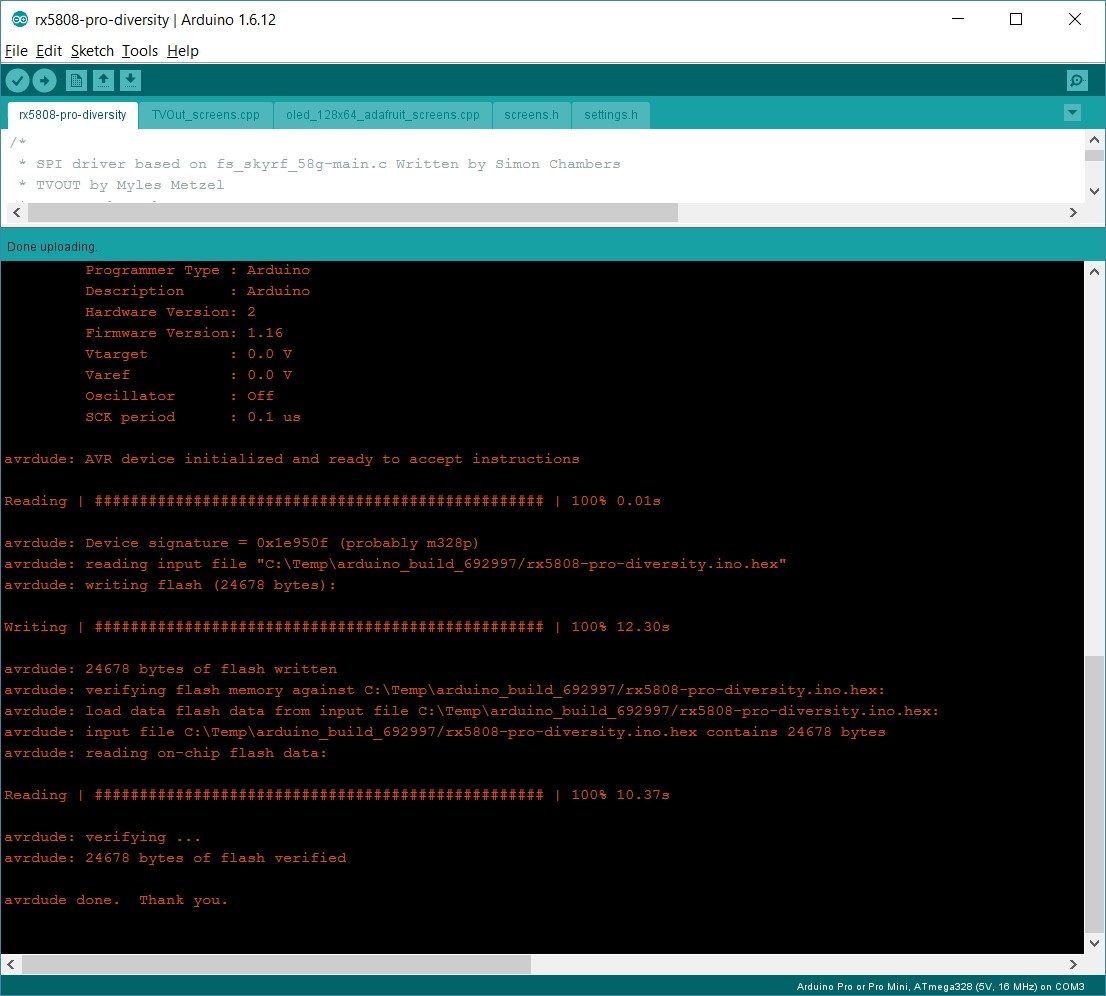
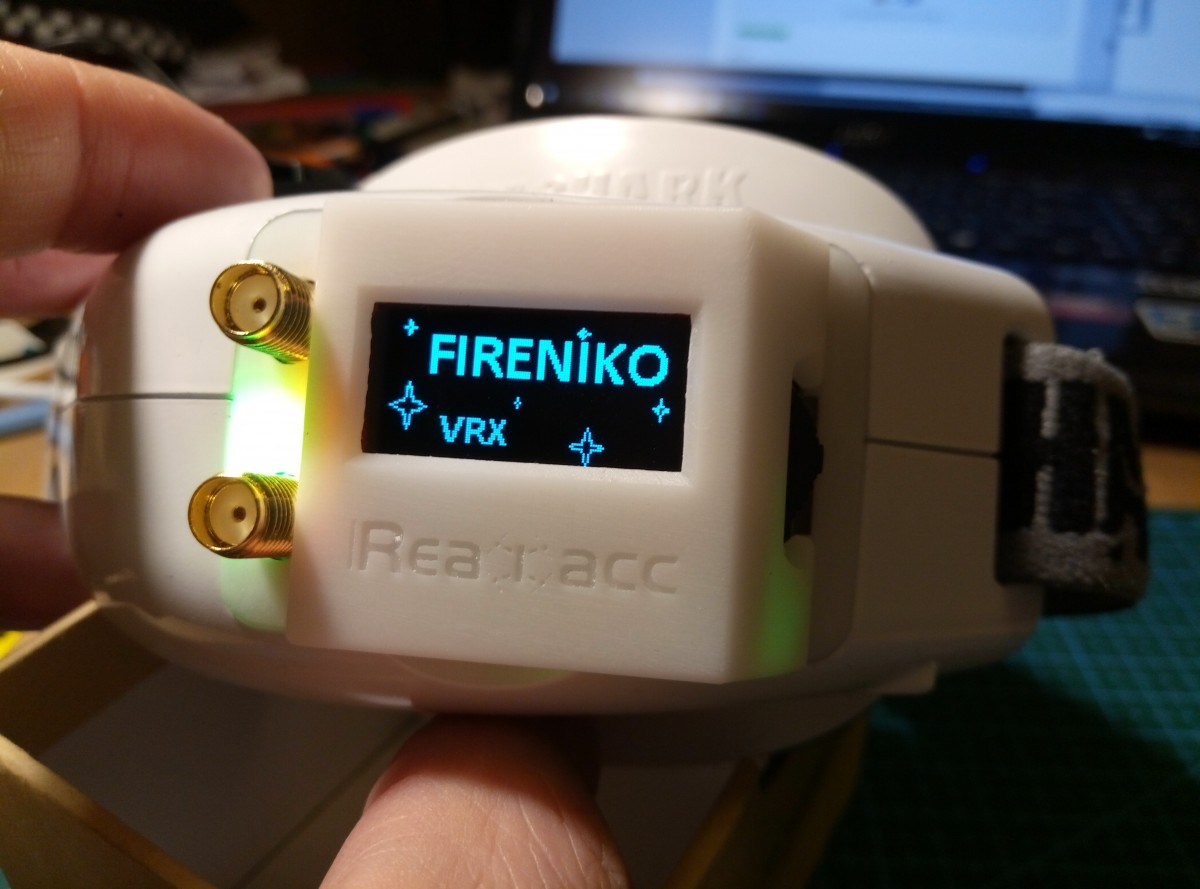
После окончания процесса RealACC Pro Diversity перезапустится с новым логотипом.
Вставляем в очки и пользуемся
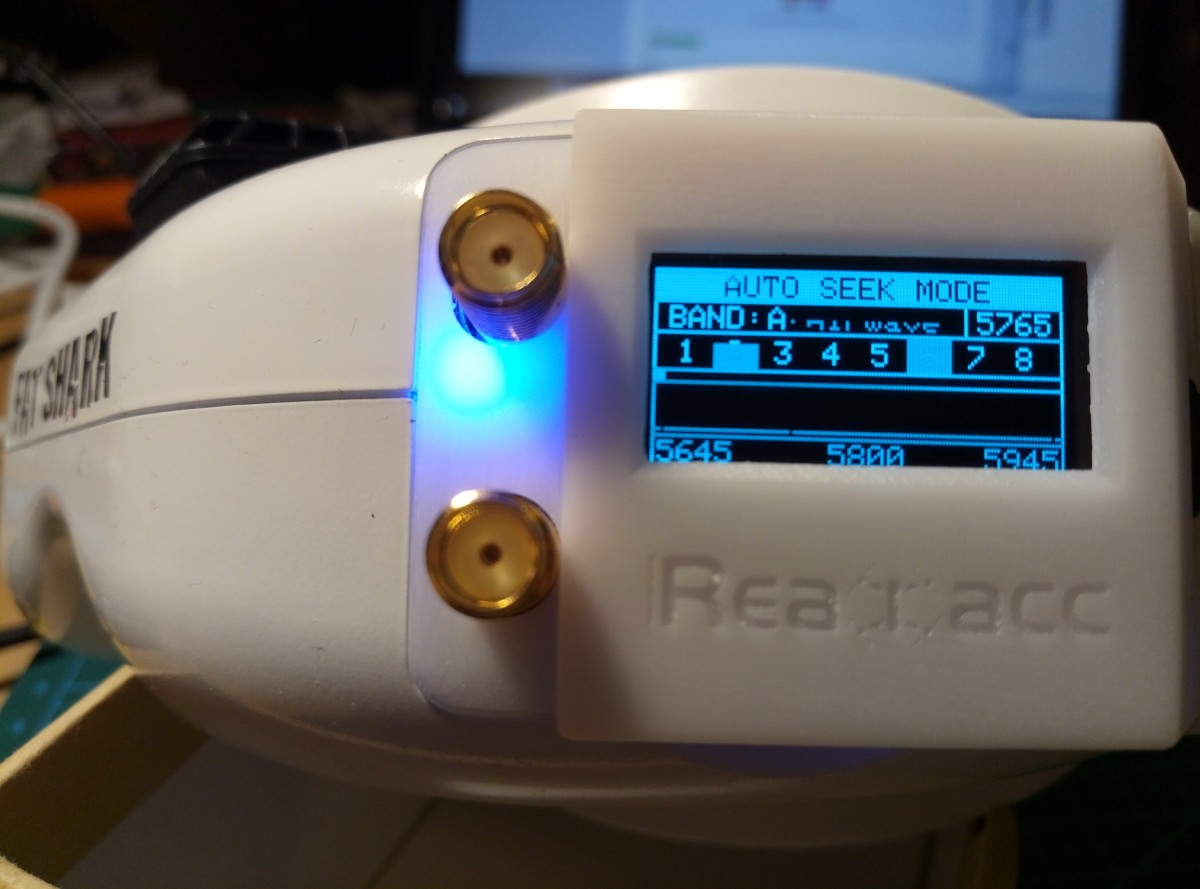
и запустится процесс сканирования
Добавлю сюда описание из проекта:
Features
- User control — 3 Button navigation, up, down, select.
- Manual Mode — Set channel manual
- Search Mode — Search next channel based on RSSI
- Scanner — Print spectrum of all 40 channels
- Save mode — Save startup mode (manu, seek, scan)
- Save channel — Startup with last saved channel
- Beeper — Acustic feedback on important actions
- Save RSSI range — RSSI voltage may vary per part
- (NEW) Quick Save — From any home press and hold select for 1 second.
- (NEW) Diversity — Receiver select and monitor.
- (NEW) Led Status — Power, button pressed, active antenna.
- (NEW) Race Band — Added band C/Immersion Race for a total of 40 supported channels.
- (NEW) Backward Compatibility — Use this code with your existing setup.
- (NEW) OLED Version — Use a 128×64 OLED Display instead of TV_OUT.
- (NEW) Setup Menu — Creating menu for toggling settings.
- (NEW) Voltage Alarm — you can now use the built in buzzer for monitoring voltage
- (REMOVED)
DIP mode — Set channel by extern DIP switch
Usage
Screens

- Mode Select — Use the up/down buttons to navigate. Hit mode to select. Don’t press anything to return to the last mode selected.
- Auto Scan — Scans all bands until a signal with good signal strength is found.
- Manual Mode — Will hold on a manualy selected channel.
- Band Scaner — Scans all bands and presents them with a sitnal strength bar graph.
- Diversity — Select which receiver to use or auto. Also Displays signal strength of each antenna.
- Setup Menu — Saves last used channel and mode for next power cycle. This is also where you enter RSSI calibration mode.
- ORDER — Change the Manual Mode channel seek order by frequency or channel number.
- BEEPS — Turn beeps on or off.
- SIGN — Edit your call sign. ( OLED Only )
- Calibrate RSSI — Calibrate the min and max RSSI values.
- Voltage Alarm — Change the warning/alarm voltage and calibration value.
- Save & Exit
Initial Setup
When powering on for the first time it is best to calibrate your RSSI modules. No two modules have the same RSSI min and max readings. To calibrate follow these steps below. You can repeat this process as many times as needed.
- Power on your receiver and transmitter and place them about 5 to 20 feet apart from one another. (For best results remove antennas to calibrate each module on a level playing field.)
- Next navigate to the «Setup Menu».
- Next navigate to «Calibrate RSSI».
- Now that you are in the RSSI calibration screen, the receiver will scan all channels 3 times getting the min and max RSSI strength.
- Once all 3 scans are complete you will be returned to the last home screen. You should now be able to have accurate RSSI readings and also auto scan to active channels.